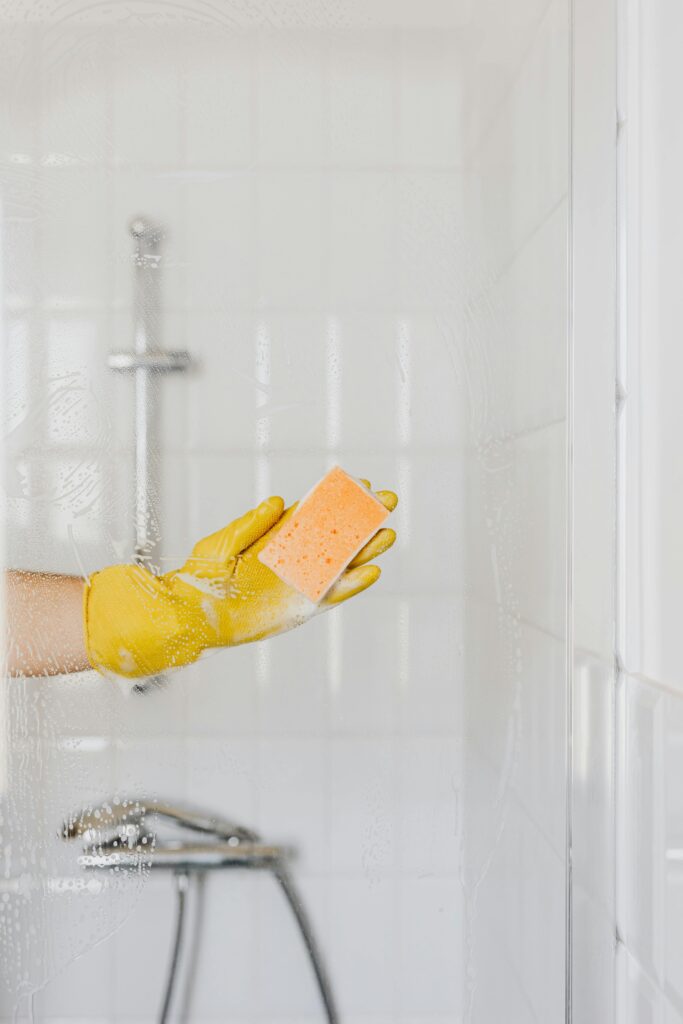
You’re a smart homeowner. As you plan for your shower remodel, you’re not just thinking about the next few weeks. You’re thinking about the next two decades, from durability to maintenance. You’ve heard that acrylic shower panels and shower systems are some of the easiest to keep clean, but what does that really look like?
At ZINTEX Remodeling Group, acrylic showers are our bread and butter and have been for 25 years. Not only do we install new acrylic shower systems, but we also come back to maintain them within the parameters of our warranties. Today, we’re going to tell you exactly what it takes to clean an acrylic shower, including regular and specialty routines. Read on to find out what supplies and techniques to use to keep your acrylic shower like new.
Table of Contents
Picking Your Cleaning Spray
First, you’ll want to pick your cleaning spray. A mild spray works wonders, whether you’re creating a DIY concoction or buying something at the store.
DIY Shower Cleaning Sprays
If you prefer to make your own cleaning supplies with common household items, you’re in luck! There are two different solutions that are great for routine acrylic shower maintenance.
If you have white vinegar: Mix one part white vinegar with one part warm water in a spray bottle. This creates a mild cleanser that is great at breaking down soap scum.
If you have white vinegar and liquid dish soap: Mix one part white vinegar, one part warm water, and one part liquid dish soap in a spray bottle. The dish soap creates suds for a slightly more robust clean and cuts through that strong vinegar smell.

Commercial Shower Cleaners
If you prefer a store-bought cleaning solution, look for a multipurpose, bleach-free bathroom cleaner. Here are a few examples of the brands and products that work well on acrylic shower panels:
- Formula 409 Multi-Surface Cleaner
- Kaboom Shower Tub & Tile Cleaner
- Lysol Power Boom Bathroom Cleaner
The best part about these products? Unlike the specialty cleaners you have to buy for materials like natural stone, the commercial products that work best for acrylic shower walls can be used on every surface in your bathroom.
What NOT To Use on Your Acrylic Shower
When it comes to picking your acrylic shower cleaning supplies, it’s just as important to note what not to use. First and foremost, never use a product that contains bleach, ammonia, or abrasive ingredients like baking soda. Acrylic is a durable, long-lasting material, but the wrong cleaner could cause mild discoloration or surface-level scratches.
If you’re mixing up a DIY cleaning product, make sure you know which ingredients become harmful when mixed. For example, you should never combine vinegar with hydrogen peroxide, vinegar with bleach, or rubbing alcohol and bleach.
Gathering Your Tools
Finding the right DIY cleaning spray or commercial product is only half the equation. You’ll also need something to use to wipe down your acrylic wall panels. Some of the best tools for the job include:
- Microfiber towels
- Terry cloth towels
- Soft sponges or standard (non-scratch) dish sponges
- Cotton dish towels
These tools are great because they can be used several times or even washed and reused indefinitely. If you prefer a one-and-done disposable option, your typical paper towel will also do the trick.

What NOT To Use on Your Acrylic Shower
Once again, we have to note the tools you shouldn’t use on your acrylic shower walls. The key here is to avoid anything abrasive. This includes things like:
- Scouring pads (including the scratchier side of a scouring pad-sponge combo)
- Steel wool
- Hard-bristled brushes
Once again, this is because abrasive materials can scratch the surface of your acrylic shower walls. While this type of damage won’t have a major impact on the functionality or waterproofing of your acrylic shower system, it can make your shower look older and less attractive.
Step by Step Acrylic Shower Cleaning
Finally, let’s talk about the actual steps involved in cleaning your acrylic shower. We’ve got quick guides for regular maintenance, targeted soap scum removal, shower accessory cleaning, and mold removal.
Regular Acrylic Shower Maintenance
Regular acrylic shower maintenance is not only super simple but also a great way to keep your shower looking lustrous and new for years to come. These steps are best for a weekly or biweekly cleaning:
- Spray a thin, even layer of your chosen cleaning solution on each of your shower wall panels and your shower base.
- Allow the spray to sit for a few minutes (or according to the instructions, if you’re using a commercial product) to help break down any soap scum or residue.
- Use your sponge or towel to wipe your shower walls, either in a circular or up-and-down motion.
- Rinse your shower walls and shower base with water.
- Use a dry towel to wipe away excess water.
Removing Built-Up Soap Scum from Acrylic
If you fall behind on your routine maintenance (who doesn’t from time to time?), you may discover a build-up of soap scum, especially on the bottom half of your shower wall panels. Here are the steps you can take to remove soap scum from an acrylic shower:
- Spray your cleaner directly on the soap scum.
- Allow your cleaner to sit for five to ten minutes.
- Use a sponge to work the cleaner into the soap scum and break it up.
- Rinse the area with water.
- Repeat as needed until the soap scum is gone.
- Use a dry towel to wipe away excess water.
Bonus tip: Interestingly enough, you may notice more soap scum if you use bar soap, which is thicker and tends to leave behind more residue. If you use bar soap regularly, allow your cleaning spray to sit for five to ten minutes every time you clean your shower.
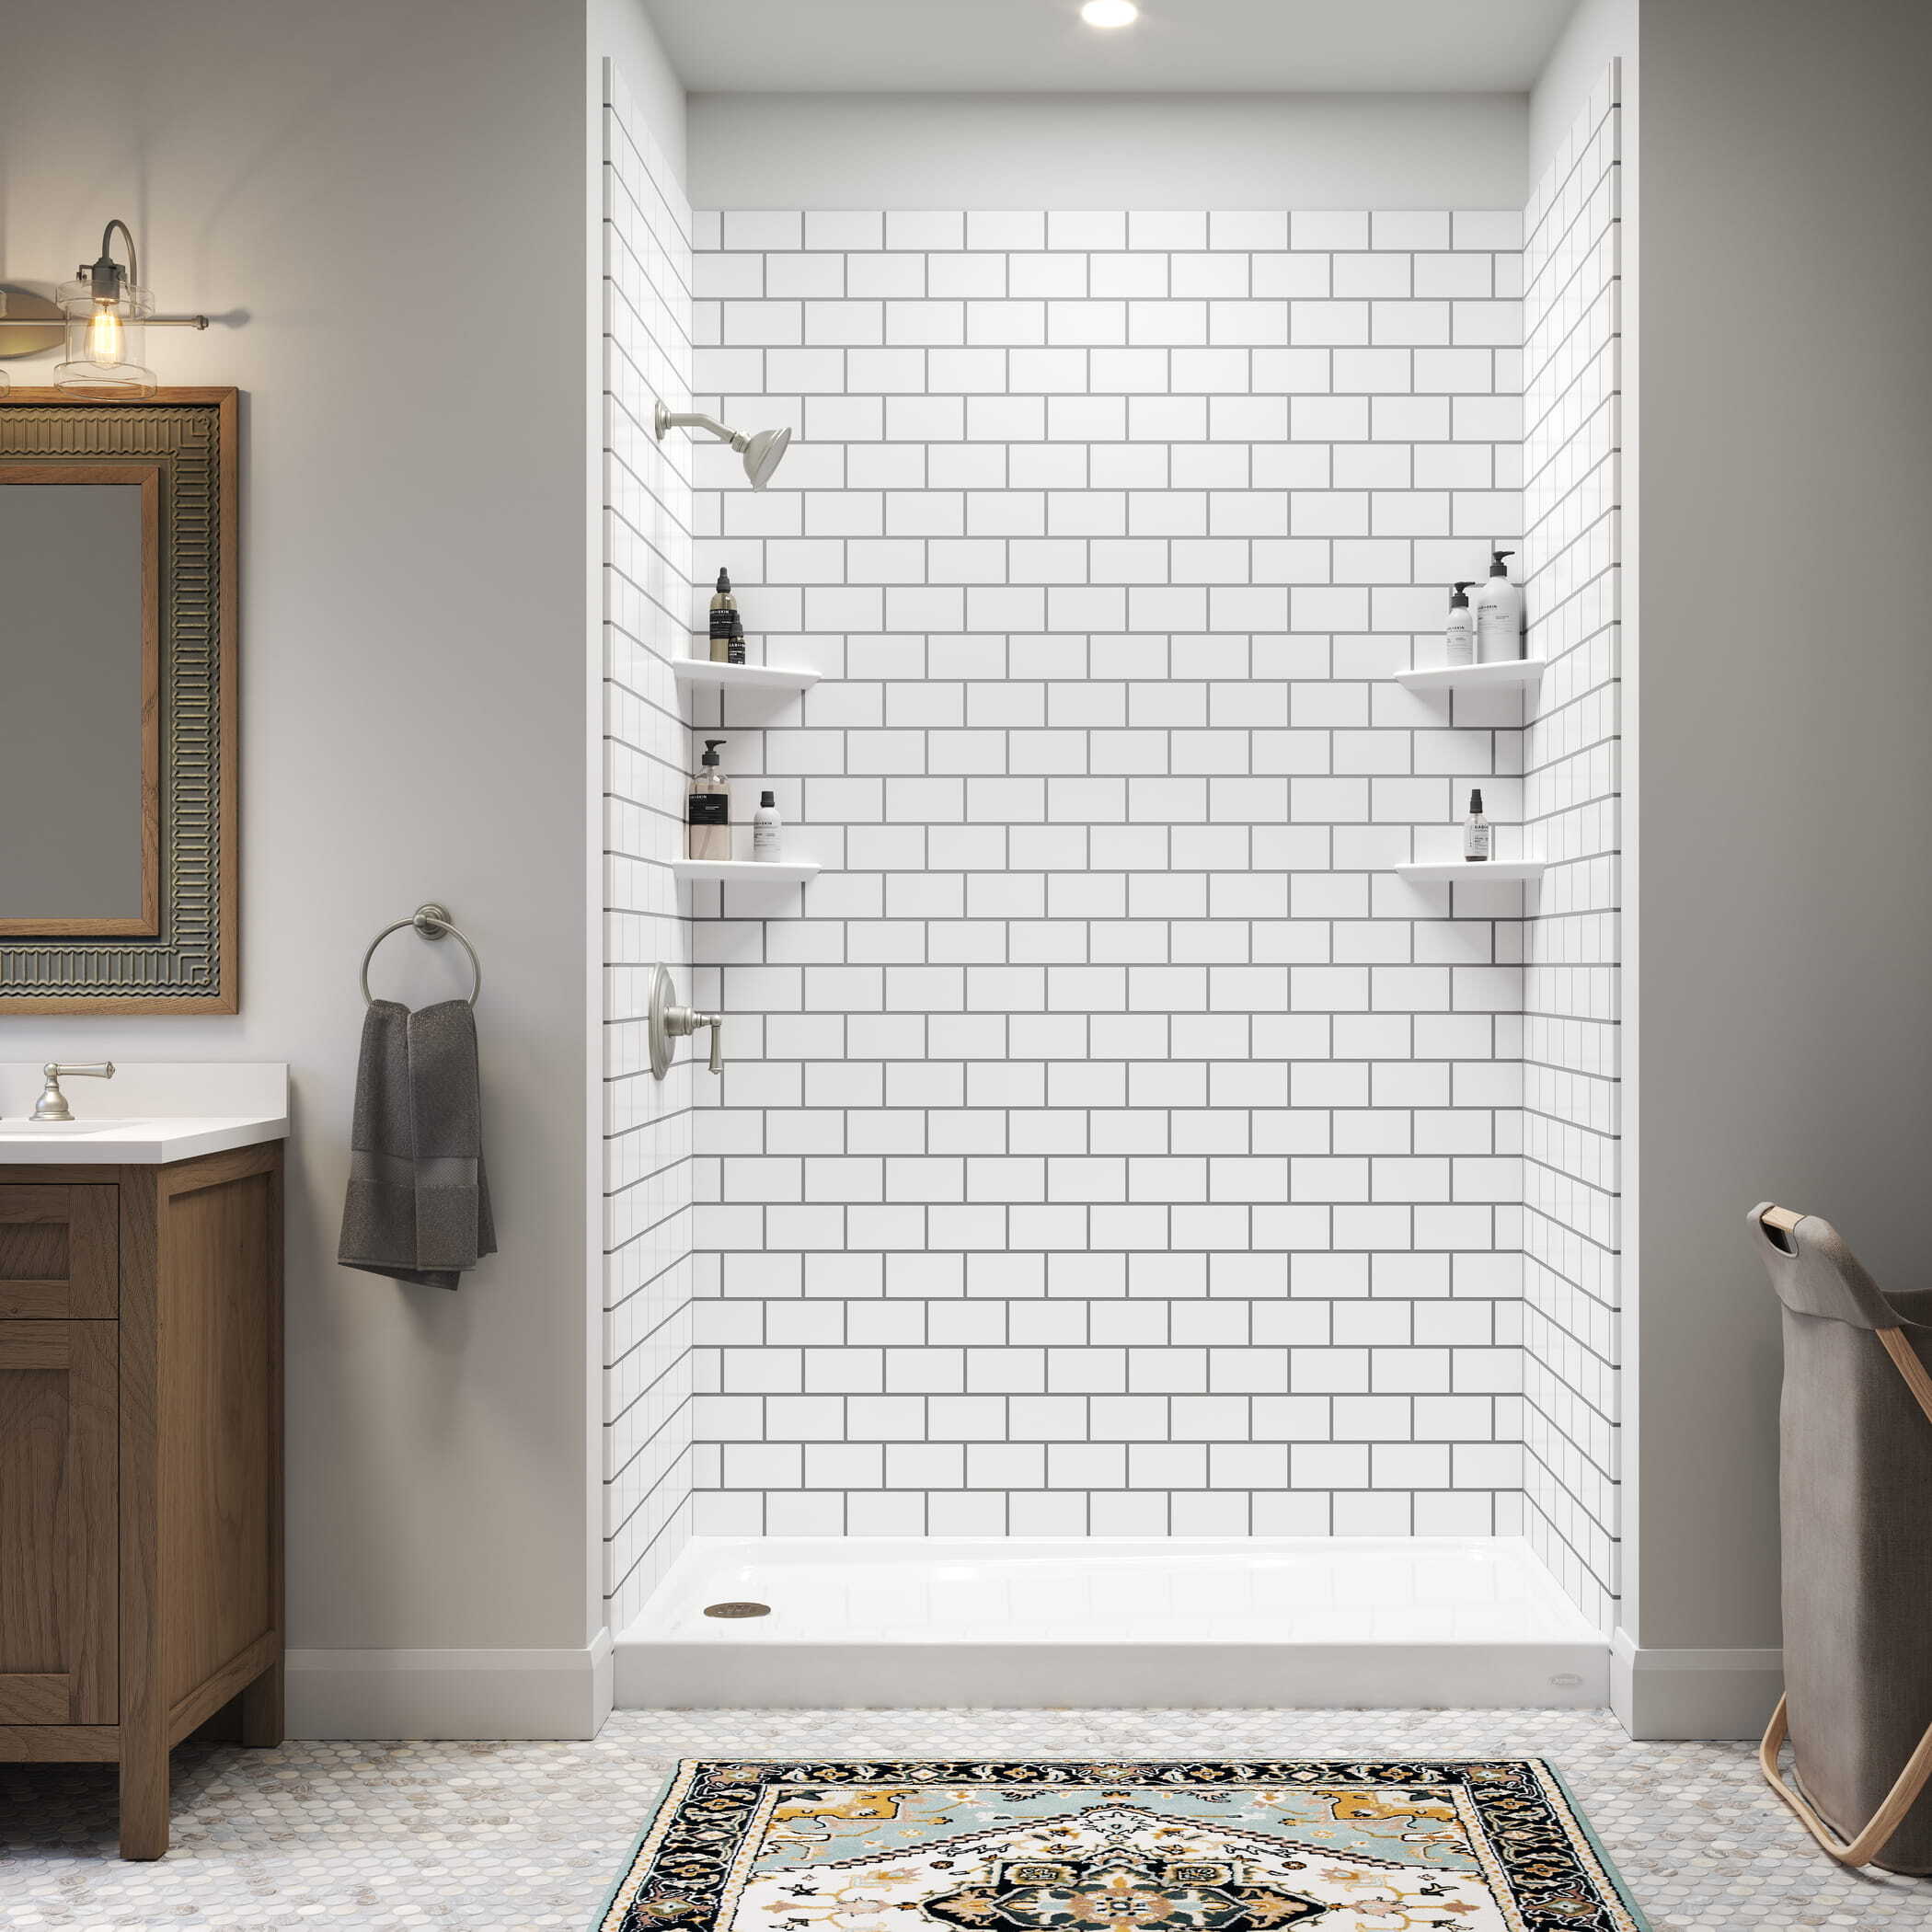
Cleaning Acrylic Shower Accessories
If you have built-in acrylic shower accessories like soap niches, corner shelves, and seating, your shower will have a few nooks and crannies that might require a bit of TLC from time to time. Every two months or as needed, grab a soft-bristled toothbrush and follow these steps:
- Examine all shower accessories, taking note of any soap scum, hard water residue, or mineral buildup.
- Use your typical cleaning spray (a vinegar-based spray works wonders for this) and spray your shower accessories inside and out.
- Allow the spray to sit for five to ten minutes to break up residue.
- Use your soft-bristled toothbrush to lightly scrub your shower accessories, paying special attention to any corners or exposed hardware.
- Rinse each accessory with water.
- Use a dry towel to wipe away excess water.

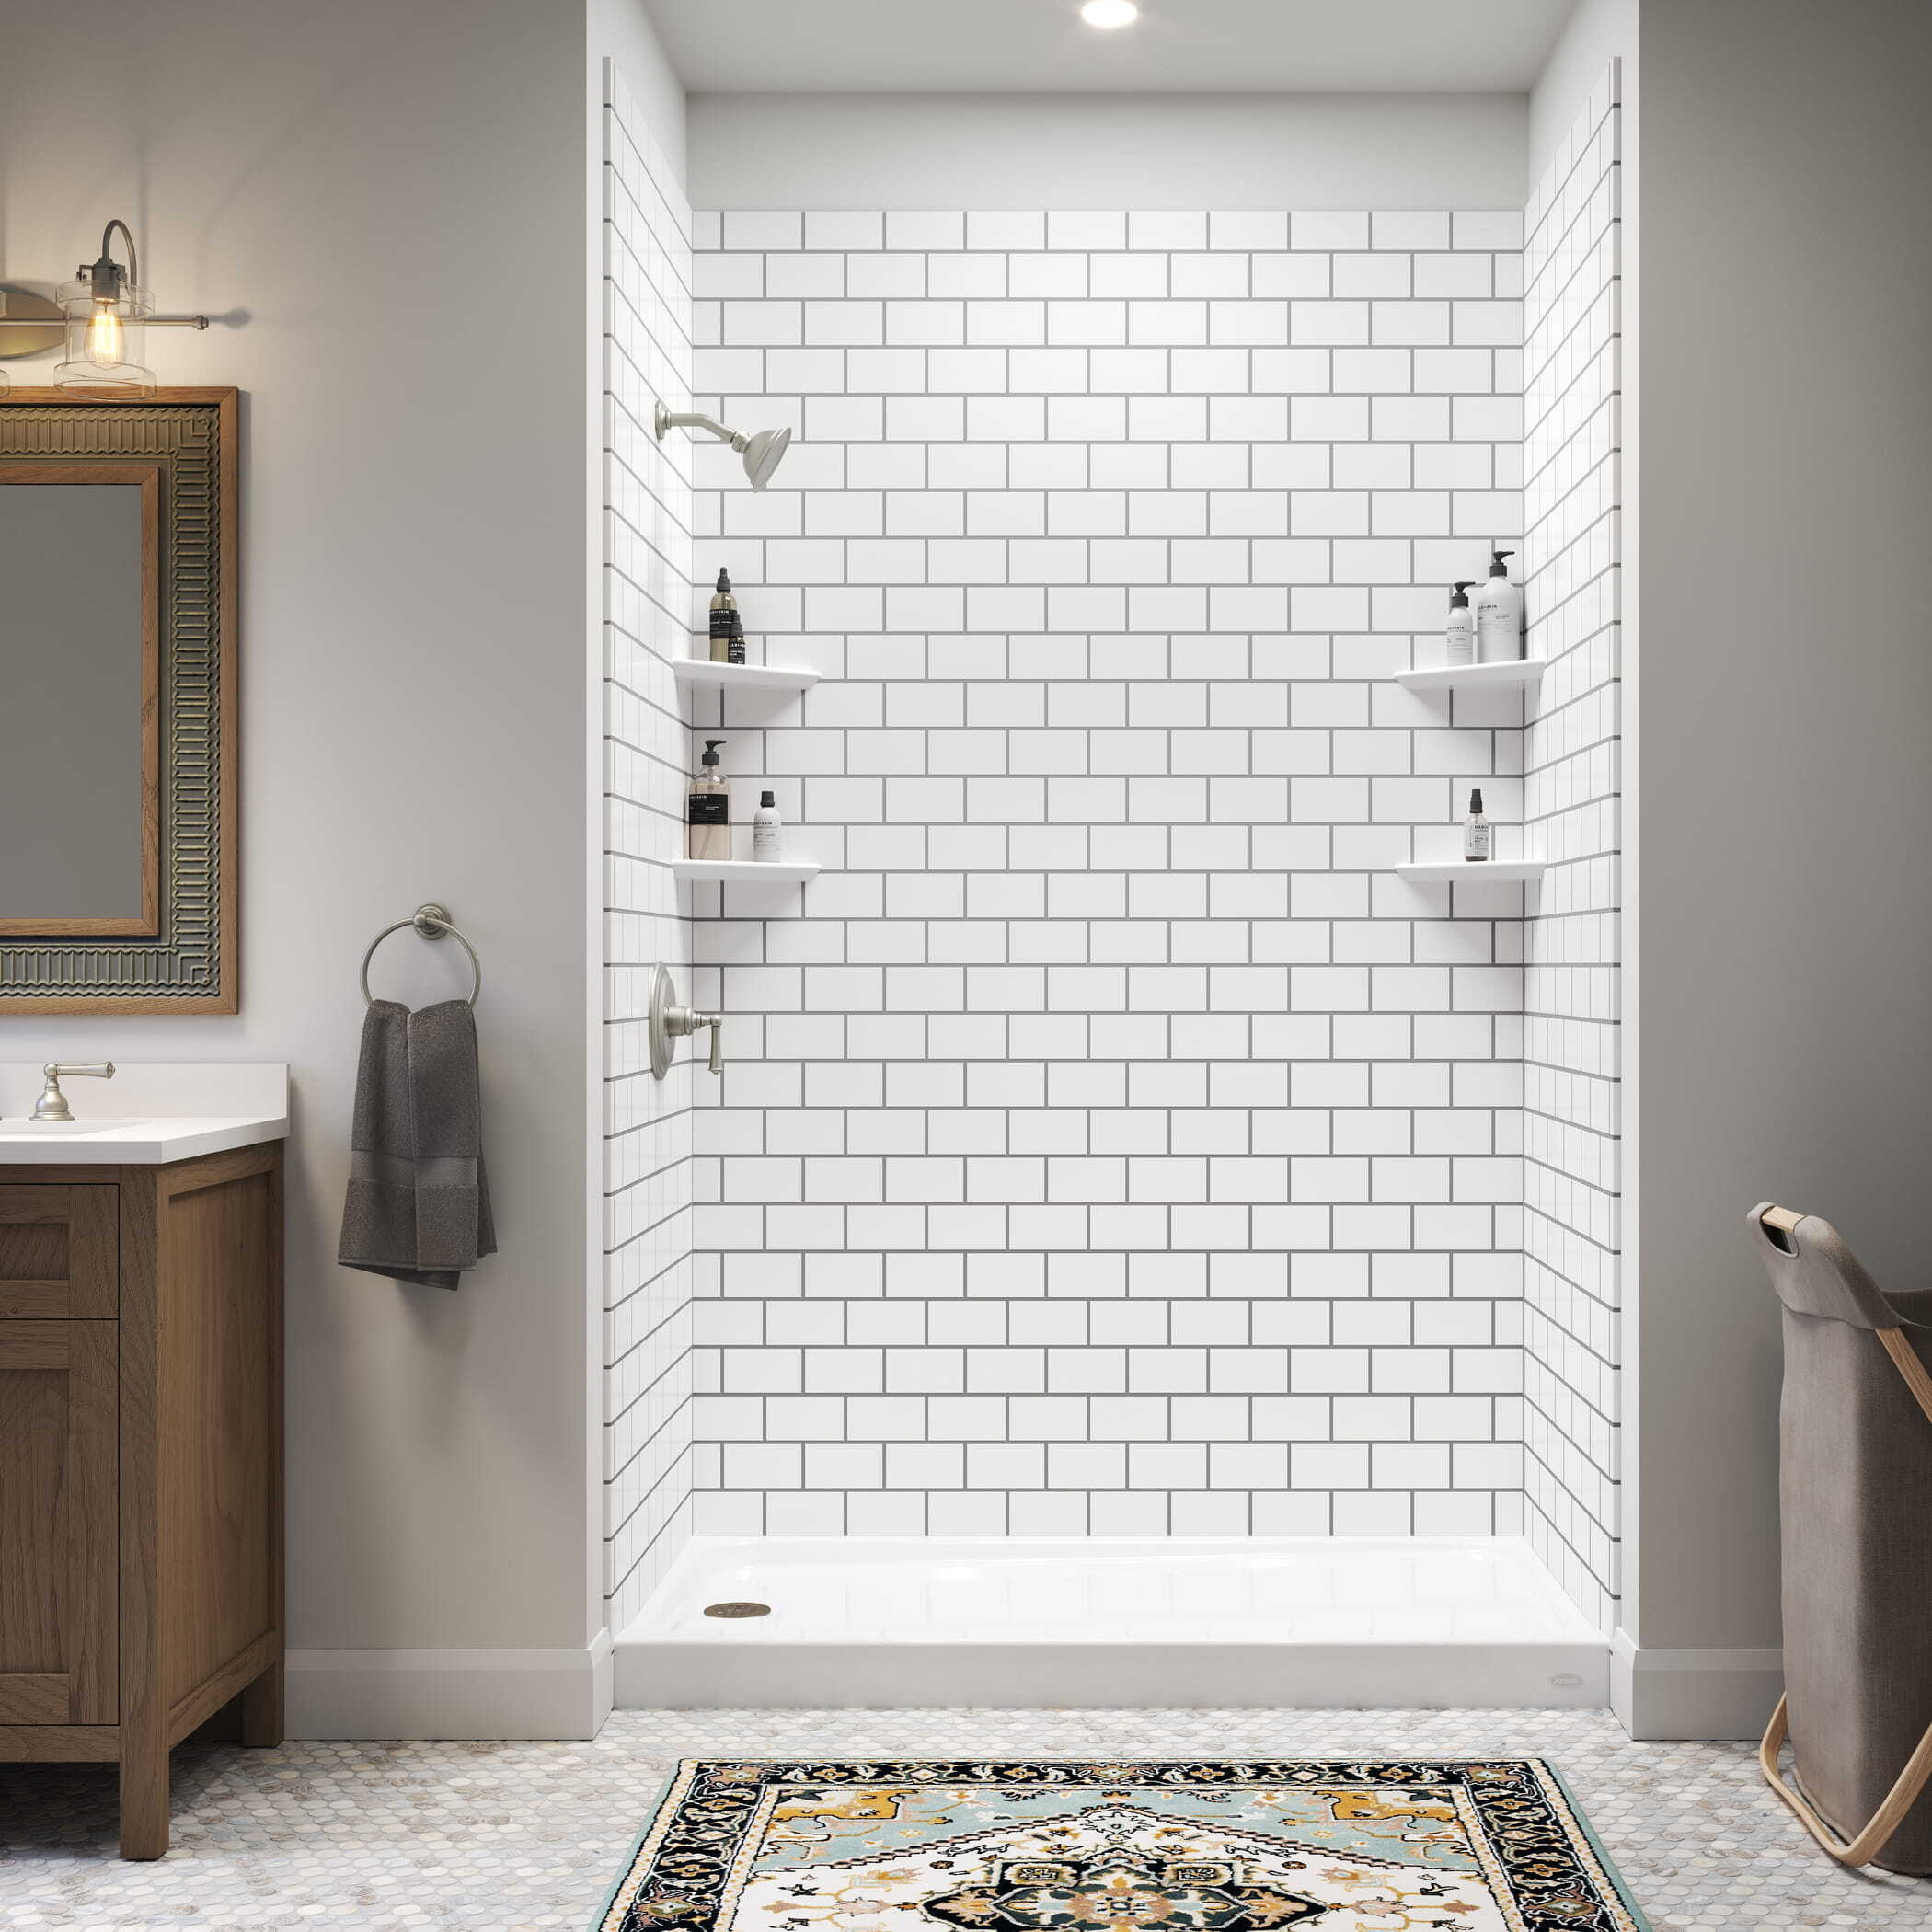
Removing Mold and Mildew from Acrylic
Fortunately, acrylic is a solid surface wall material with a 100% waterproof finish and no grout lines. As a result, it’s rare to see mold and mildew in an acrylic shower–but it’s not impossible. If you do discover mold in your acrylic shower, follow these steps to eradicate it:
- Put on a K95 mask to protect your respiratory system from mold spores.
- Spray all visible mold with a vinegar-based solution OR a 3% hydrogen peroxide solution. (NEVER USE VINEGAR AND HYDROGEN PEROXIDE TOGETHER.)
- Allow the cleaning solution to sit for five to ten minutes.
- Scrub away the mold with a soft sponge or soft-bristled toothbrush.
- Wipe down the area to ensure it is completely dry.
Bonus tip: Unless you address the source of mold growth, you’ll find yourself completing these steps every few weeks. Most of the time, mold growth in an acrylic shower is caused by poor bathroom ventilation. Always run your bathroom fan for at least 20 minutes after using your tub or shower. If doing so doesn’t bring down the humidity level, you may need to clean your bathroom vent.
What About Acrylic Shower Damage?
Acrylic really is one of the most low-maintenance shower wall materials out there. With this guide, you can keep your acrylic shower clean and like-new for years to come.
Worried about damage, not just cleanliness? When you’re choosing your shower remodel company, it’s crucial that you assess the warranties they offer. Take a look at our ZINTEX warranty page to learn everything you need to know about our limited lifetime warranty on both products and labor.
Topics:


.png?width=1280&height=720&name=Red%20And%20Black%20Modern%20Tips%20%26%20Trick%20YouTube%20Thumbnail%20(9).png)


