If you’ve invested in home improvement before, it’s possible that you’ve faced some pretty nightmarish scenarios: final price tags extending way beyond the initial estimate. Companies failing to communicate throughout the design process. Contractors ghosting you halfway through the renovation–we’ve heard it all.
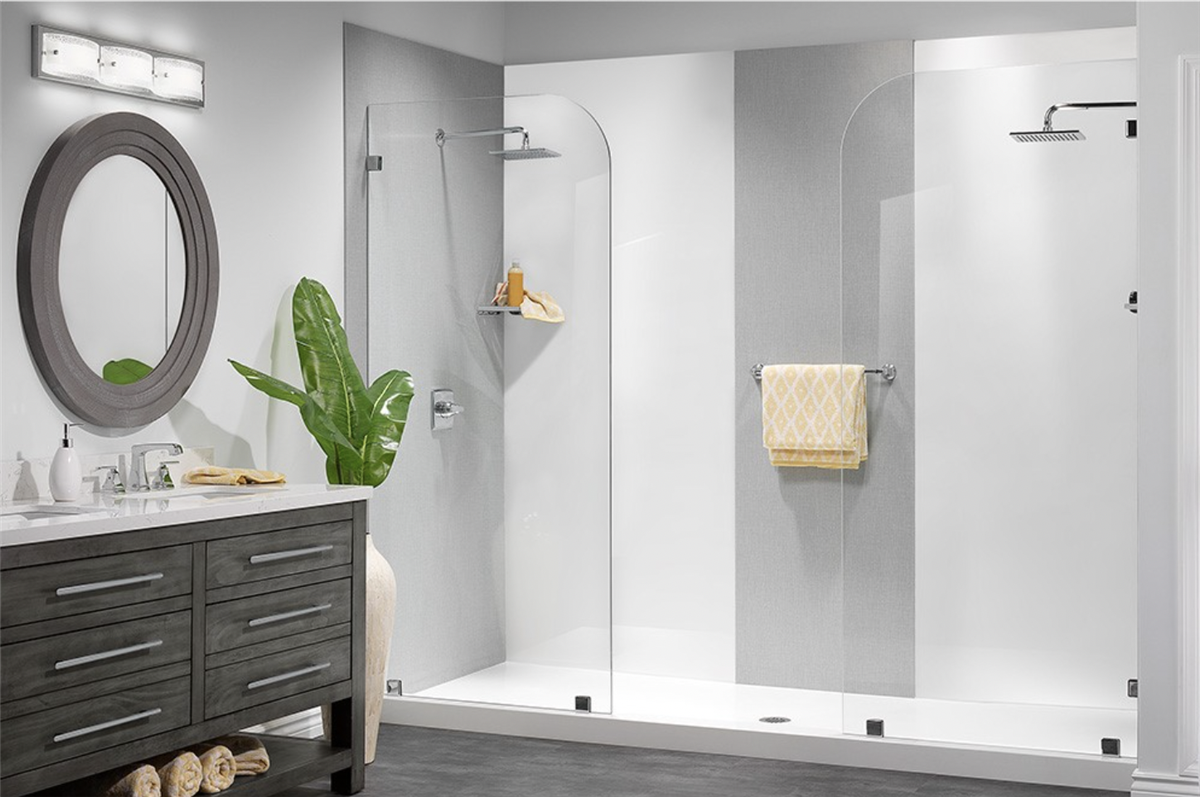
At ZINTEX Remodeling, we pride ourselves on delivering exceptional shower transformations through our meticulous 16-step installation process. Our systematic approach ensures quality, reliability, and stunning results every time. With ZINTEX, your shower renovation will feel like a dream, not a nightmare.
Let's walk through each step of our professional process that sets us apart from other remodeling companies.
Table of Contents:
- Preparing for Your Shower Remodel: Steps 1-2
- Day One: Starting Your Bathroom Remodel with Demo, Plumbing Work, and Core Installation
- Day Two: Waterproofing Your Shower and Completing Your New Shower Installation
The Early Stages: Preparing for Your Shower Remodel
Any good shower installation process begins with pre-planning. Attention to detail is what eliminates the delays you may have experienced with other contractors.
➡️Step 1: Assign Designated Team
First, we’ll carefully select skilled professionals specifically for your project based on their expertise and experience. Your dedicated team will remain consistent throughout the installation process. This unique approach eliminates most of the communication problems we tend to see in home renovations. It also keeps your entire project streamlined from start to finish.
➡️Step 2: Inspect Materials Before Install
Quality control is paramount when installing a new shower. Before any work begins, your materials are thoroughly inspected, including:
- Wall panels
- Fixtures and hardware
- Plumbing components
All materials must meet our rigorous standards and your specifications. This crucial step doesn't just ensure you receive the best materials. It also helps to prevent delays during the installation.
Day One: Starting Your Bathroom Remodel with Demo, Plumbing Work, and Core Installation
Next, it’s time to prepare your bathroom for installation. For all homeowners, this involves demolishing and/or removing the materials we’ll be replacing during your renovation. For some, it may also require making as-needed changes to your plumbing system. Finally, it’s time to start the core installation process. For most homeowners, this process can be completed in one day.
➡️Step 3: Demo Existing Materials
Your existing shower fixtures, tiles, and outdated elements are removed with careful precision. Our team takes special care to minimize dust and debris while protecting other areas of your home during this phase.
➡️Step 4: Convert Drain
Your new shower's functionality hinges on proper plumbing. During this step, we reconfigure and optimize your drainage system as needed. The purpose is to accommodate your new layout and fixtures, ensuring everything flows perfectly for years to come.
➡️Step 5: Install New Valve Body
Valve bodies are the fixtures responsible for water temperature and pressure control. They're also the heart of any shower system. This is the first component to go in during the core installation stage.
➡️Step 6: Install Wood Reinforcement As Needed
Structural integrity is a requirement to extend the lifespan of your new shower as long as possible. We strategically add wood reinforcements where necessary to support:
- Heavy fixtures
- Grab bars
- Aesthetic or functional elements that require additional stability
➡️Step 7: Install & Level Shower Base
A perfectly level shower base is essential for proper drainage and longevity. Our team employs advanced techniques to ensure your new shower base is flawlessly aligned. This will correct any existing issues and prevent problems like water pooling.
Day Two: Waterproofing Your Shower and Completing Your New Shower Installation
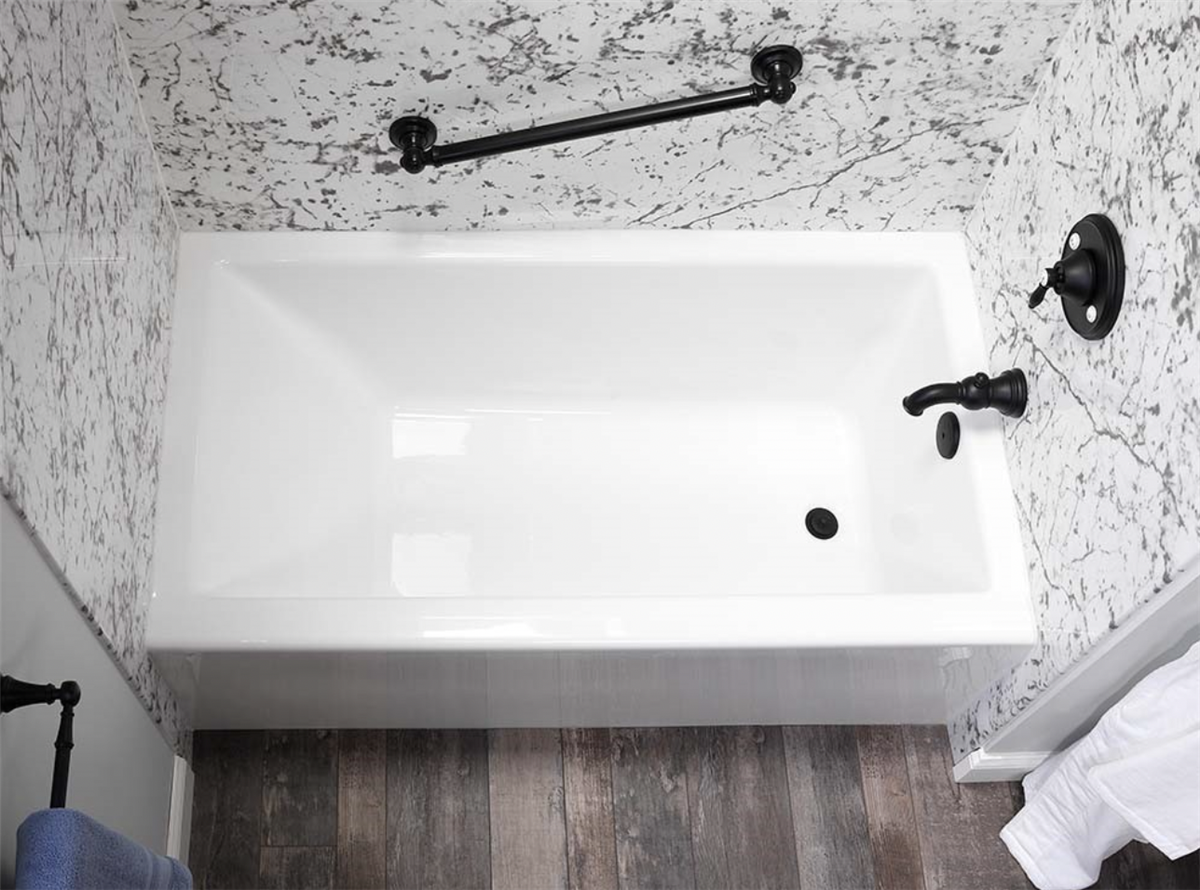
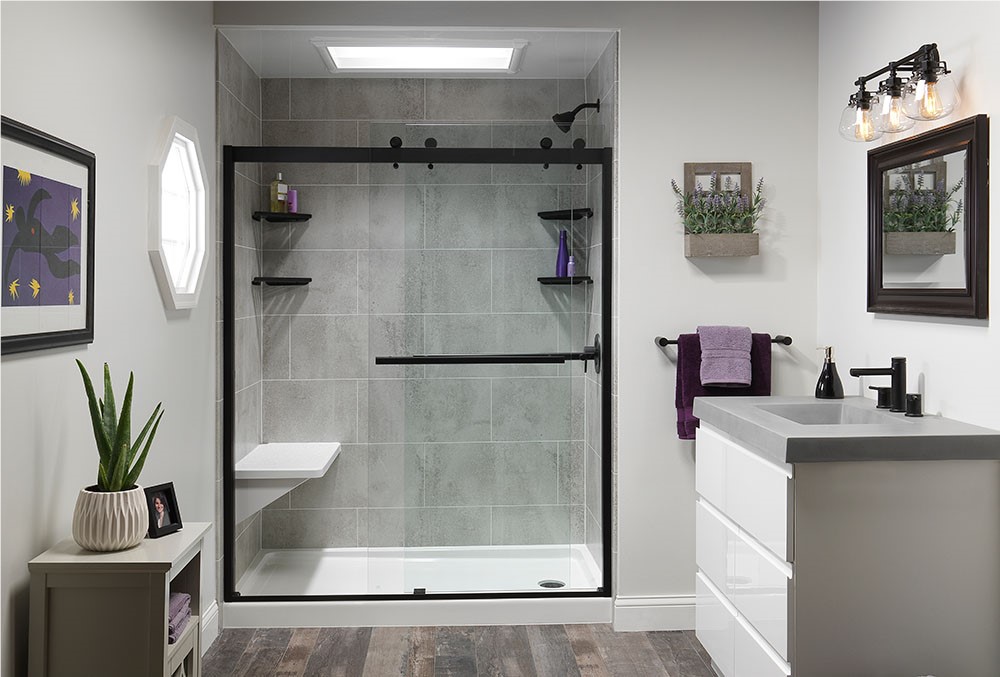
While it may not be the most glamorous part of a shower renovation, waterproofing is arguably the most important. With ZINTEX shower systems and our unique installation process, you’re guaranteed a truly waterproof shower. These final steps also ensure that you’ll have a functional bathroom as soon as your shower installation is complete. For most homeowners, these steps are completed on day two.
➡️Step 8: Install Moisture Treated Backer Board
Water damage prevention begins with proper materials. We install specialized moisture-resistant backer boards throughout any wet areas in your remodel. This creates a reliable foundation for your panels while providing superior moisture protection.
➡️Step 9: Measure Walls
Precision matters. Detailed measurements of all surfaces ensure accurate cutting and placement of wall panels. Cut-to-fit panels also minimize waste while maximizing aesthetic appeal.
➡️Step 10: Trim Walls
Each wall panel is custom trimmed to fit your shower's unique dimensions. The use of precise equipment makes it easy to incorporate accessories and add-ons such as:
- Fixtures
- Unique architectural features
- Outlets
- Safety equipment
➡️Step 11: Install Triple-Lock Wall System
Our exclusive Triple-Lock Wall System creates unparalleled protection against moisture infiltration. It also creates a seamless surface for your shower's new aesthetic. This proprietary system is engineered for durability and long-lasting beauty.
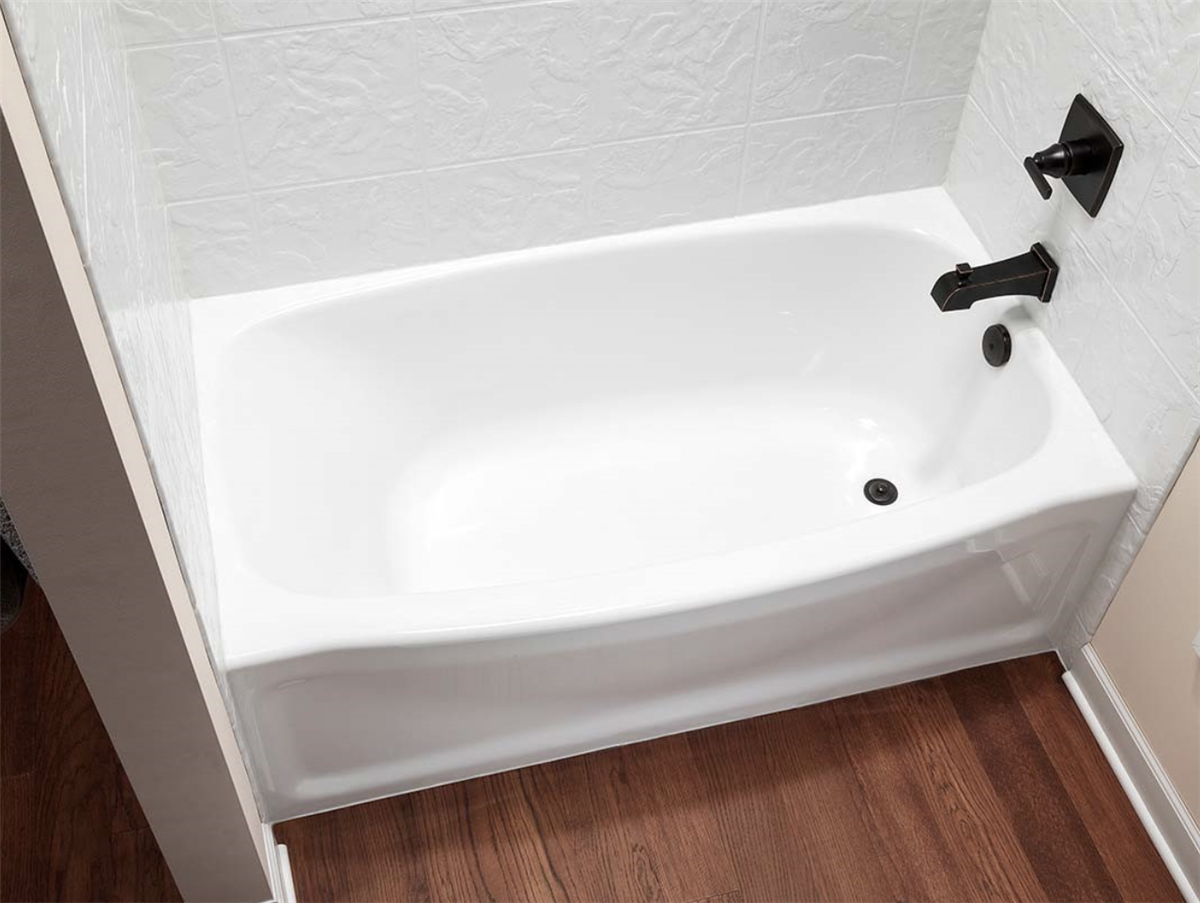
➡️Step 12: Custom Fit Wall Panels
Your bathroom's visual appeal depends on perfectly fitted wall panels. We triple-check the custom fit on each panel. The goal is to create seamless transitions and flawless sightlines throughout your new space.
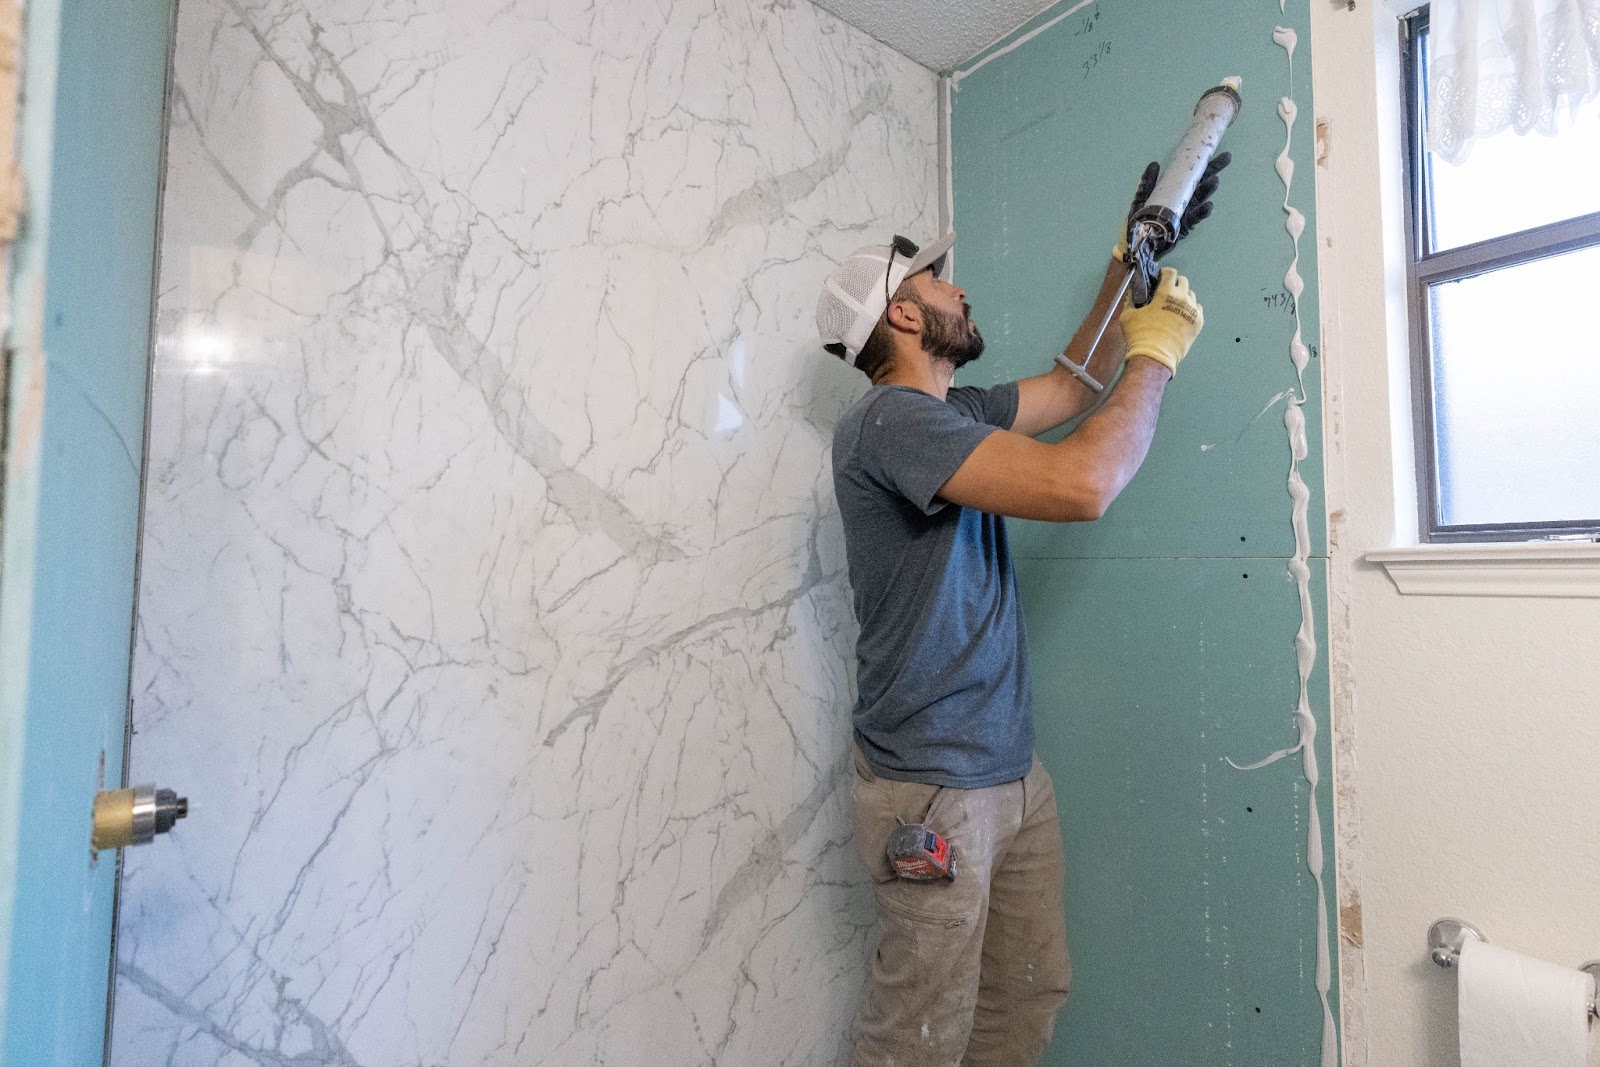
➡️Step 13: Seal System with Adhere Anti-Microbial Sealant
Health and cleanliness are priorities in bathroom design. Our Adhere Anti-Microbial Sealant not only creates watertight seams. It inhibits the growth of mold and bacteria, promoting a more hygienic bathroom environment. In a high-moisture environment, mold prevention is key to good air quality.
➡️Steps 14 & 15: Install Accessories & Trim
All accessories are installed with precision and care, including:
- Towel bars
- Shower caddies
- Decorative trim
These finishing elements complete your bathroom's functionality and style.
➡️Step 16: Clean & Complete Your System
Cleaning up the construction area is the final step of your shower installation. This includes removing any installation residue and polishing all surfaces to perfection. A comprehensive final inspection ensures every detail meets our exacting standards.
16 Steps for Installation Success: The ZINTEX Advantage
We know that a company’s approach to shower remodeling will make or break the entire process. With ZINTEX, you never need to worry about lapsed timelines, poor communication, or abandoned projects. What sets ZINTEX Remodeling apart isn't just our 16-step process. It's the attention to detail, craftsmanship, and customer satisfaction that infuses each step.
Ready to transform your bathroom with our proven 16-step process? Schedule your free consultation with ZINTEX Remodeling and we’ll guide you from demo to done.
Subscribe to ZINTEX Remodeling Group's Blog